
Dill is a fragrant, feathery herb commonly used in pickling, soups, and seafood dishes. While it typically thrives outdoors, dill can be successfully grown indoors with proper care. By providing the right light, soil, and watering conditions, you can enjoy fresh dill year-round. This guide will walk you through everything you need to know about growing and maintaining dill indoors.
1. Why Grow Dill Indoors?
Growing dill indoors has several benefits:
- Year-round availability – No need to rely on store-bought dried dill.
- Fresh flavor – Homegrown dill has a more intense taste than dried versions.
- Space-saving – Perfect for small apartments and kitchens.
- Low maintenance – Requires minimal care once established.
2. Choosing the Right Variety of Dill
Some dill varieties are better suited for indoor growing due to their compact size:
- Fernleaf Dill (Anethum graveolens ‘Fernleaf’) – A dwarf variety that grows well in pots.
- Dukat Dill (Anethum graveolens ‘Dukat’) – Produces flavorful leaves and thrives in containers.
- Bouquet Dill (Anethum graveolens ‘Bouquet’) – Grows well indoors and is excellent for pickling.
For indoor cultivation, Fernleaf Dill is the best choice due to its compact growth.
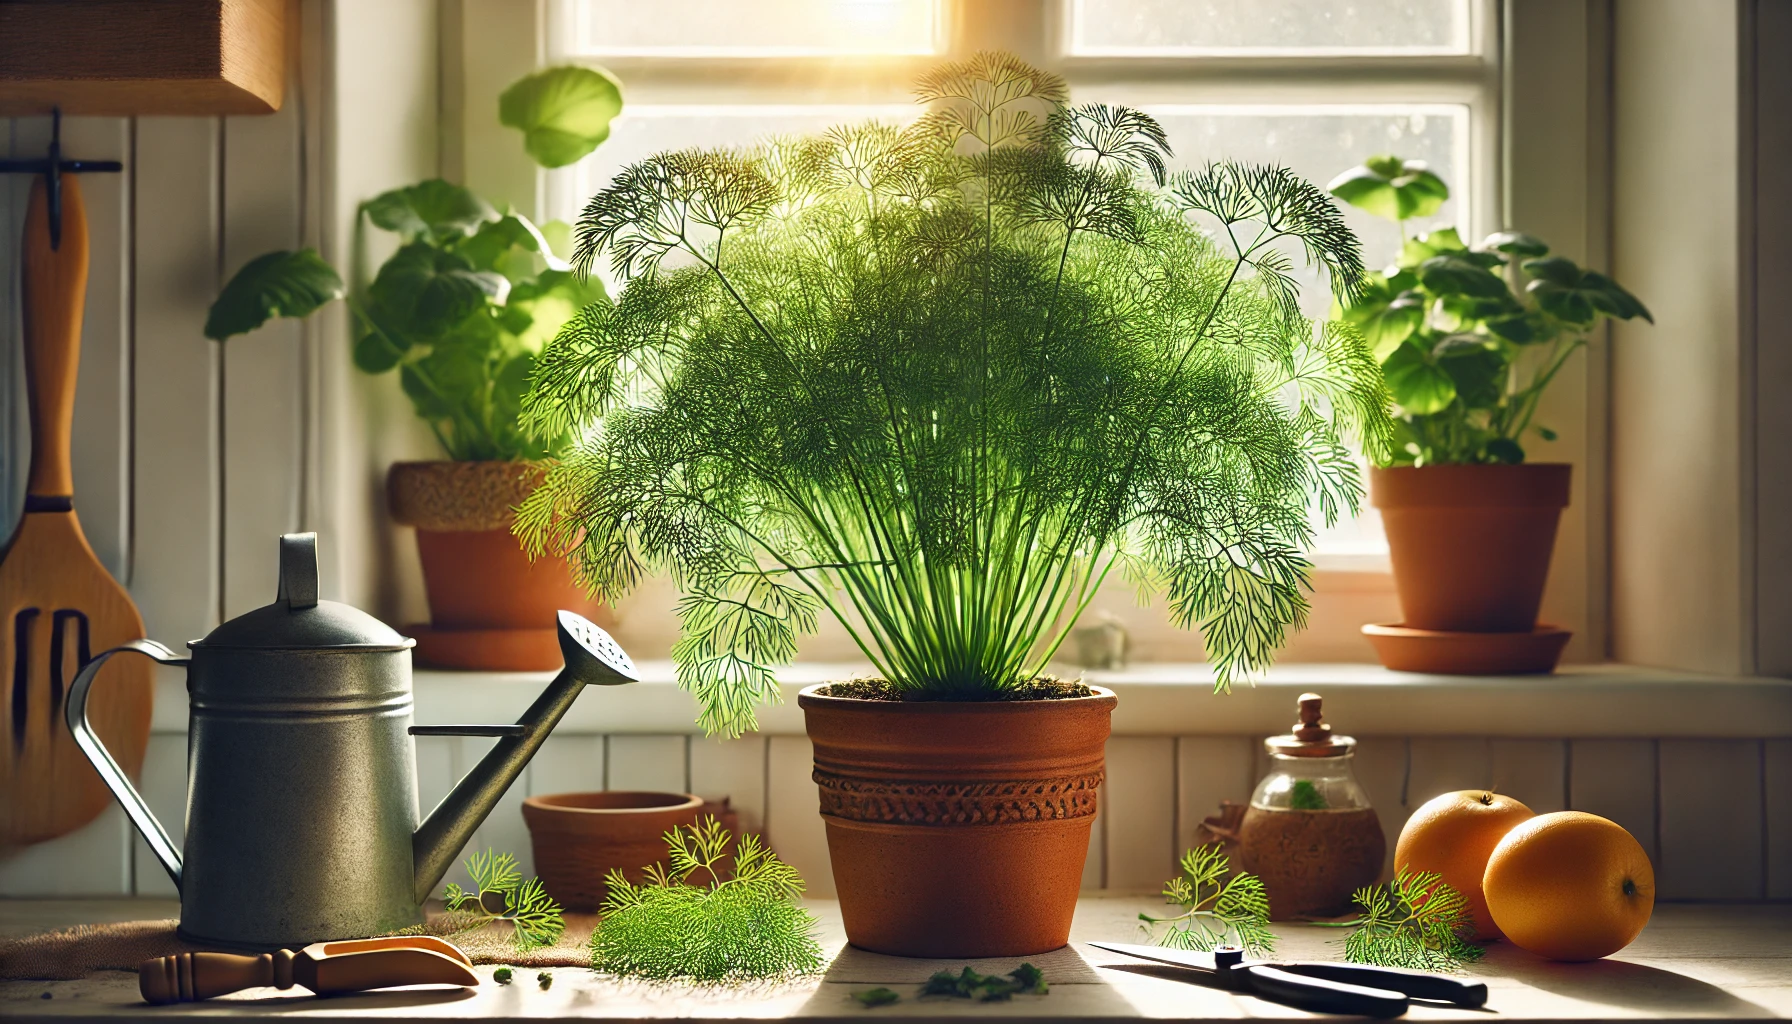
3. Selecting the Right Pot and Soil
Choosing the Best Pot
- Use a deep container (8–12 inches) with drainage holes to accommodate dill’s long roots.
- Terracotta or ceramic pots help regulate moisture levels.
Best Soil for Dill
- Use a light, well-draining potting mix.
- Mix in perlite or sand to improve drainage.
- Avoid heavy, compacted soils, as dill prefers loose soil.
4. Providing the Right Light Conditions
Dill requires plenty of sunlight to grow well indoors.
- Place the pot in a south- or west-facing window where it receives 6–8 hours of direct sunlight daily.
- If natural light is insufficient, supplement with a full-spectrum LED grow light for at least 12–14 hours per day.
- Rotate the pot every few days to ensure even light exposure.
5. Watering and Humidity Needs
Dill prefers moist but well-draining soil.
- Water when the top inch of soil feels dry. Avoid letting the soil become too dry or too soggy.
- Use the “soak and dry” method – water deeply, then let excess moisture drain out.
- Avoid watering the leaves to prevent fungal diseases.
- Dill tolerates moderate humidity and does not require misting.
6. Temperature and Air Circulation
Dill is sensitive to temperature fluctuations, so maintaining a stable environment is crucial.
- Keep the temperature between 65–75°F (18–24°C) during the day.
- Avoid placing the plant near cold drafts, heaters, or air conditioning vents.
- Ensure good air circulation to prevent mold growth.
7. Fertilizing for Healthy Growth
Dill does not need heavy feeding but benefits from occasional fertilization.
- Use a diluted organic fertilizer (such as compost tea or fish emulsion) once every 4–6 weeks.
- Avoid excessive nitrogen, as it can lead to weak stems and poor flavor.
8. Pruning and Harvesting Dill
Regular pruning encourages bushy growth and prevents the plant from becoming too tall and leggy.
How to Prune Dill for Best Growth
- Trim stems once the plant reaches 6–8 inches tall to encourage branching.
- Remove yellowing or dead leaves to keep the plant healthy.
- Pinch off flower buds unless you want the plant to produce seeds.
Harvesting Dill for Cooking
- Use scissors to snip fresh leaves as needed.
- Harvest leaves in the morning when the oils are most concentrated for the best flavor.
- Store fresh dill in the fridge or freeze it for long-term use.
9. Common Problems and How to Fix Them
1. Leggy Growth
Cause: Not enough light.
Solution: Move to a sunnier location or use a grow light.
2. Yellowing Leaves
Cause: Overwatering or nutrient deficiency.
Solution: Let the soil dry between waterings and apply diluted fertilizer.
3. Weak Stems or Falling Over
Cause: Not enough support or too much nitrogen.
Solution: Use small stakes for support and reduce fertilization.
10. Propagating Dill for More Plants
Dill can be easily grown from seeds.
How to Grow Dill from Seeds
- Sprinkle seeds over moist soil and lightly press them in.
- Keep the soil slightly damp until seedlings appear (7–14 days).
- Thin seedlings so they have 2–3 inches of space between them.
- Transplant to a larger pot once the plant reaches 4 inches tall.
11. Companion Plants for Dill
Dill pairs well with other herbs when grown indoors:
- Basil – Similar light and watering needs.
- Parsley – Thrives alongside dill.
- Chives – Helps repel pests naturally.
Avoid planting dill near fennel, as they can cross-pollinate and affect flavor.
12. Using Fresh and Dried Dill
Dill is a versatile herb used in many dishes:
- Cooking – Adds fresh flavor to fish, soups, and salads.
- Pickling – A key ingredient in homemade pickles.
- Herbal Teas – Used for digestive health and relaxation.
Final Thoughts
Growing dill indoors is simple and rewarding, providing fresh leaves for cooking, pickling, and herbal remedies. By following these care tips, you’ll have a thriving dill plant ready to enhance your home and kitchen.